2011 / Smart main unit
The 2011
control unit.
A removable controller connects the garment electrode zones to MBODY over Bluetooth. Review the hardware, connection and garment options for your EMS product.
16 independent outputs · Bluetooth · USB C
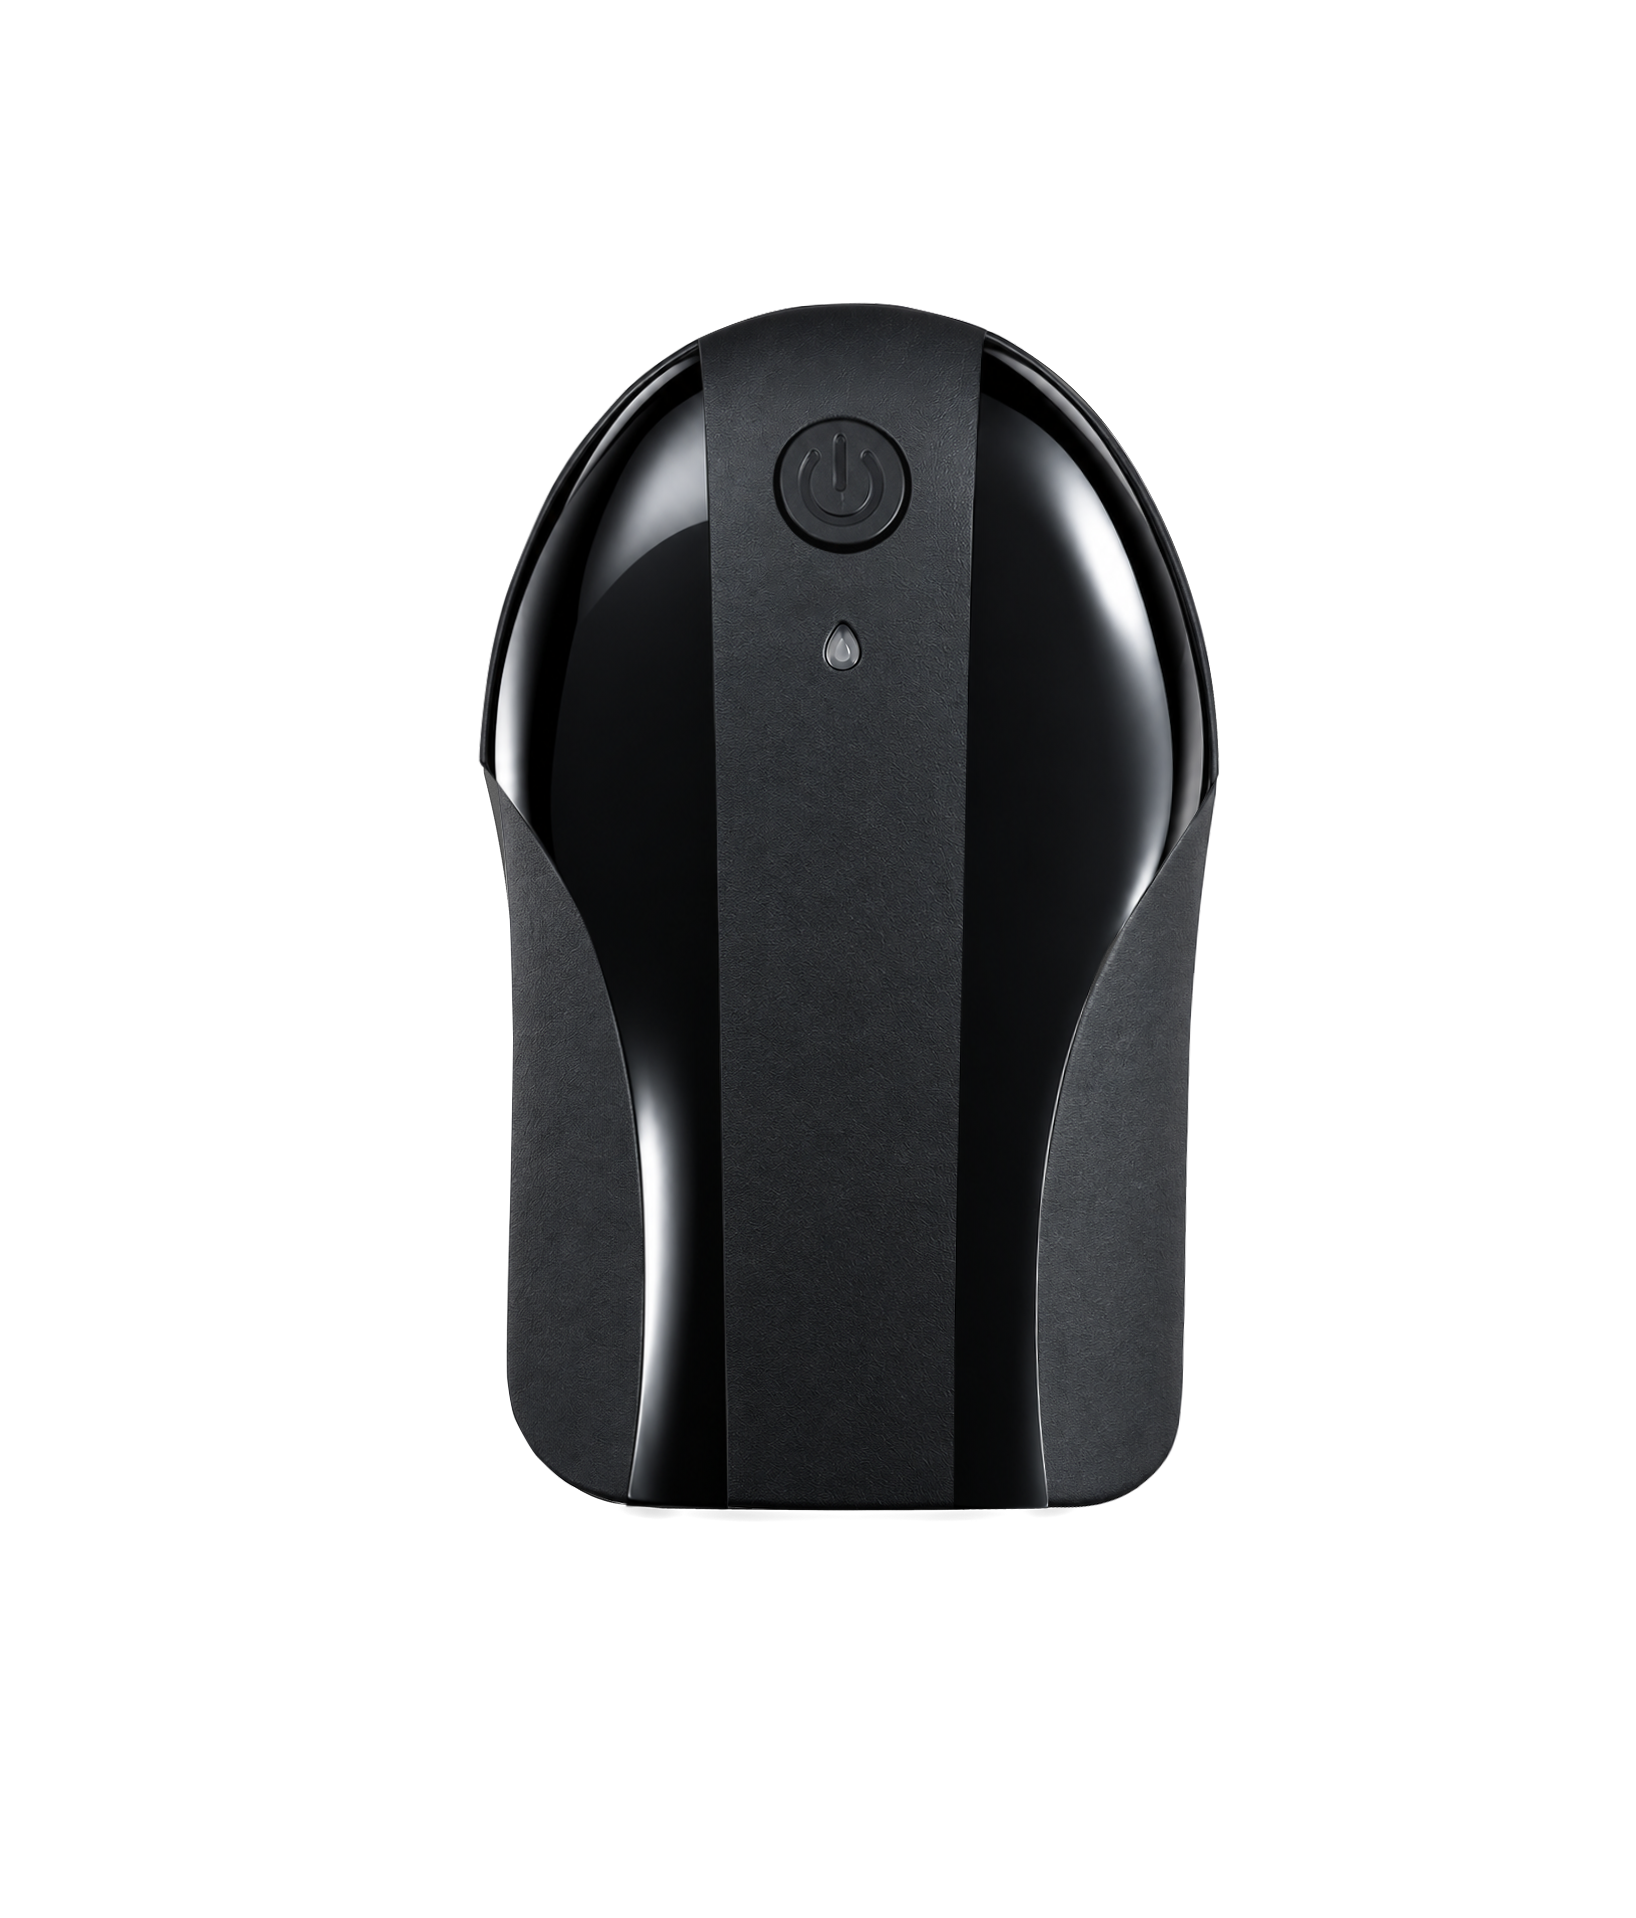 2011 controllerFront view
- Controller capacity
- 16 independent outputs
- Operating frequency
- 1 to 100 Hz
- Charging connector
- USB C
01 / Hardware specifications
The controller,
in detail.
Use these figures to review the electronic side of the 2011 system. The garment layout is specified separately for each format.
Download product resources- Independent outputs
- 16
- Operating frequency
- 1 to 100 Hz
- Zone intensity setting
- 0 to 100%
- Session timer
- 1 to 60 minutes
- Maximum output power
- 3 W
- Lithium battery
- 3.7 V / 2000 mAh
- Charging connector
- USB C
- App connection
- Bluetooth
- App platforms
- iOS and Android
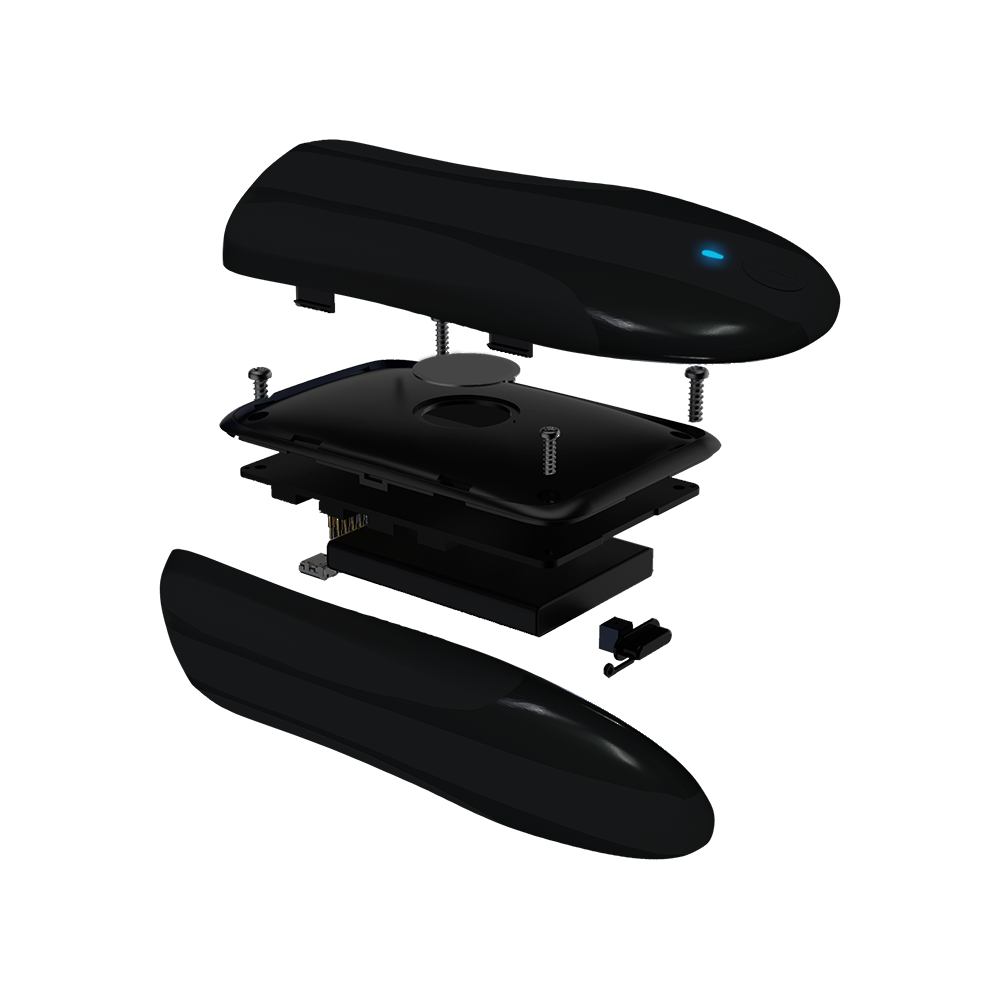
Housing and internal assembly. All six layers shown.
02 / Controller construction
Inside the
control unit.
The housing, internal assembly and garment connection, developed together for your EMS product.
- 01
Outer housing.
The enclosure brings the power button, status indicator and internal assembly together.
- 02
Internal assembly.
Control electronics and power components sit within a compact, removable unit.
- 03
Garment connection.
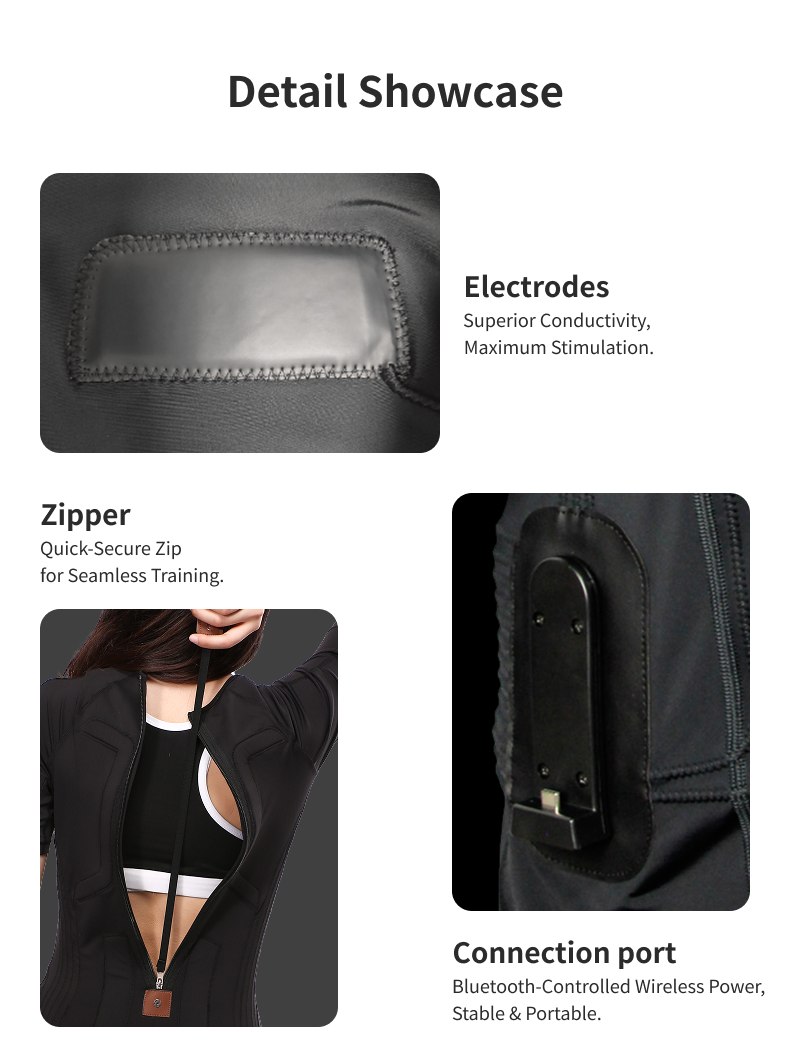
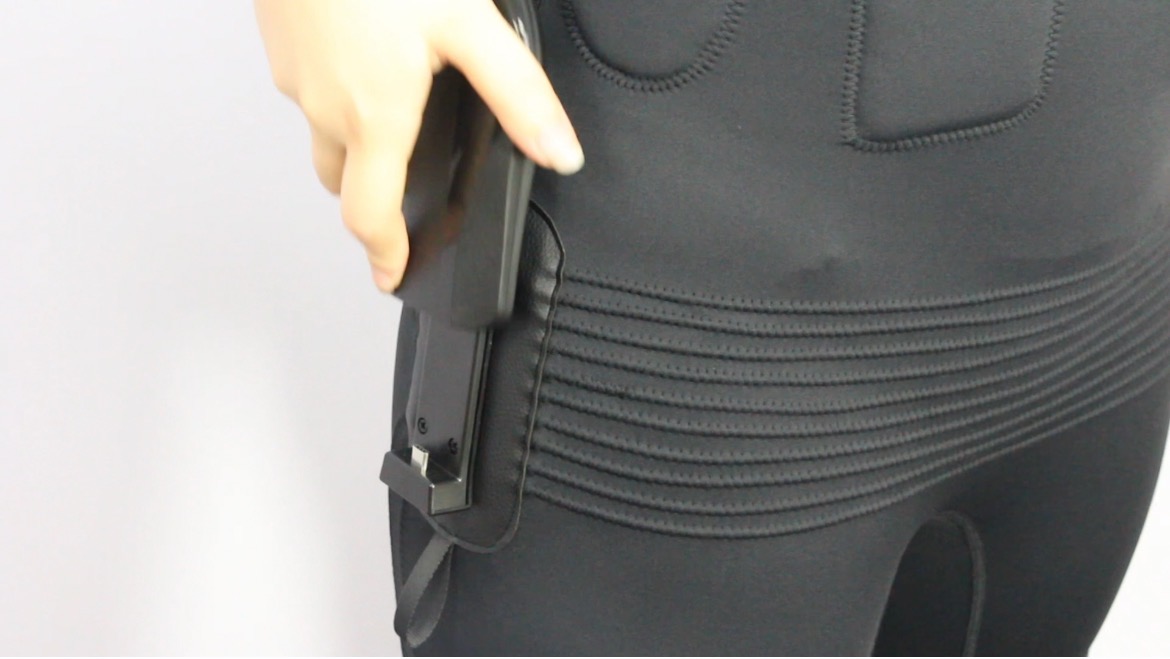
The removable unit slides into a dedicated base on the garment.
03 / Garment to app
Slide into place.
Connect to MBODY.
- Put on the garment
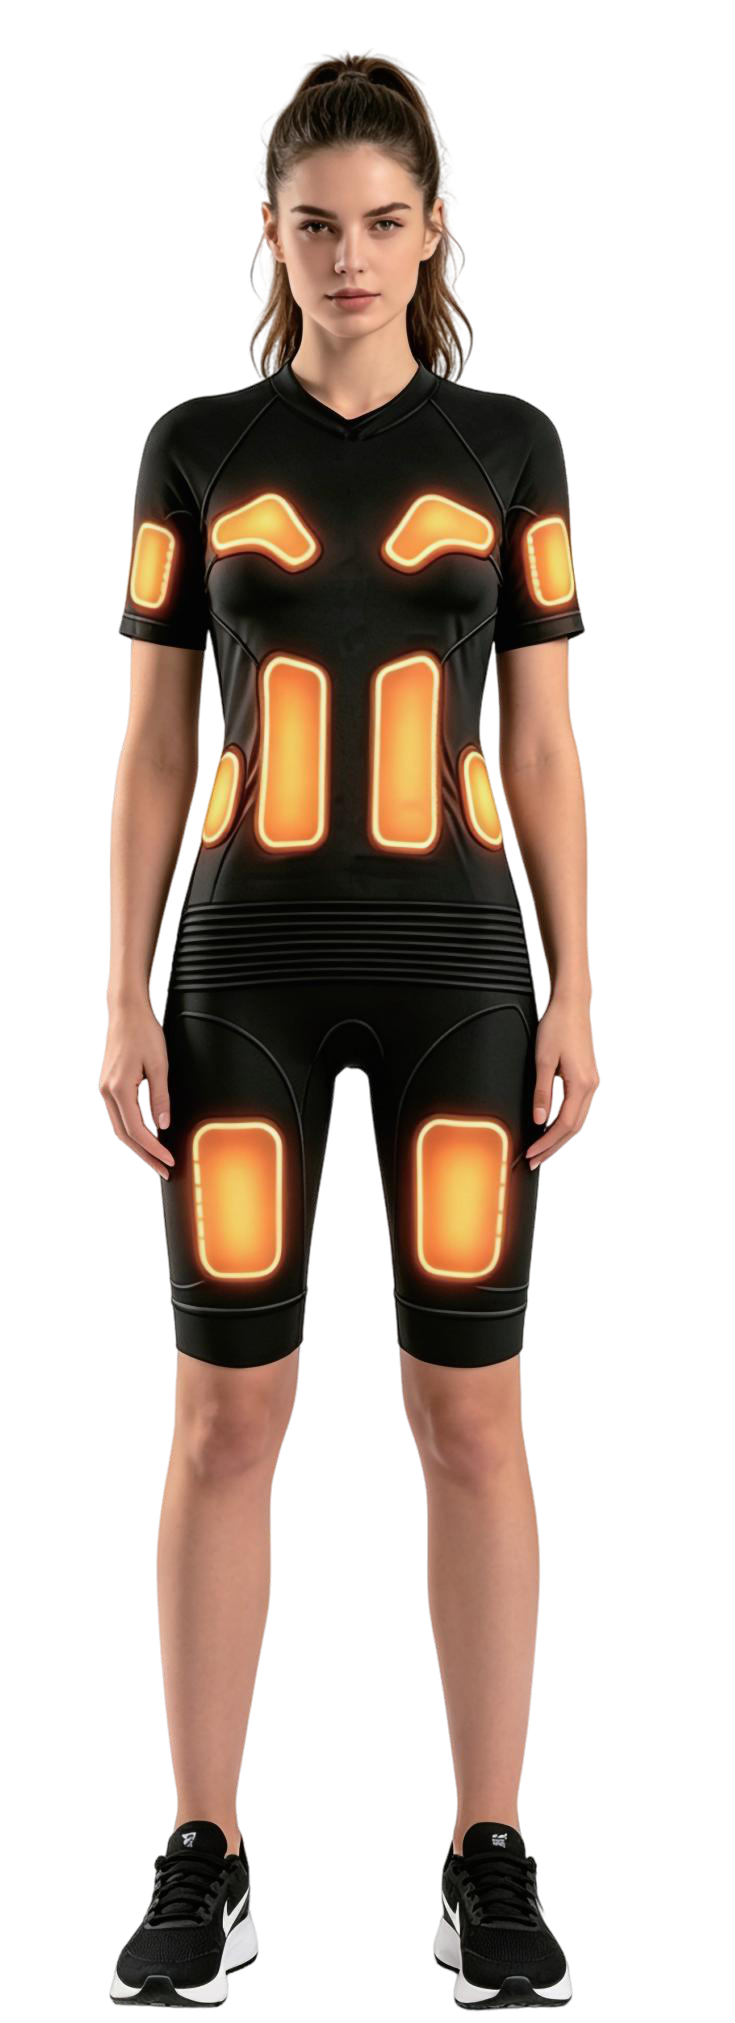
The garment places the electrode zones at the areas defined by its design.
- Connect the controller
On the full body suit, the base sits on the outer thigh. Slide the controller down into the mount.
- Open MBODY
Connect over Bluetooth, choose the program and adjust the zone settings in the app.
One controller platform.Four garment formats.
Choose the garment coverage for your range, then review its electrode and channel layout alongside the controller specification.
04 / The connected garments
Count the garment
channels separately.
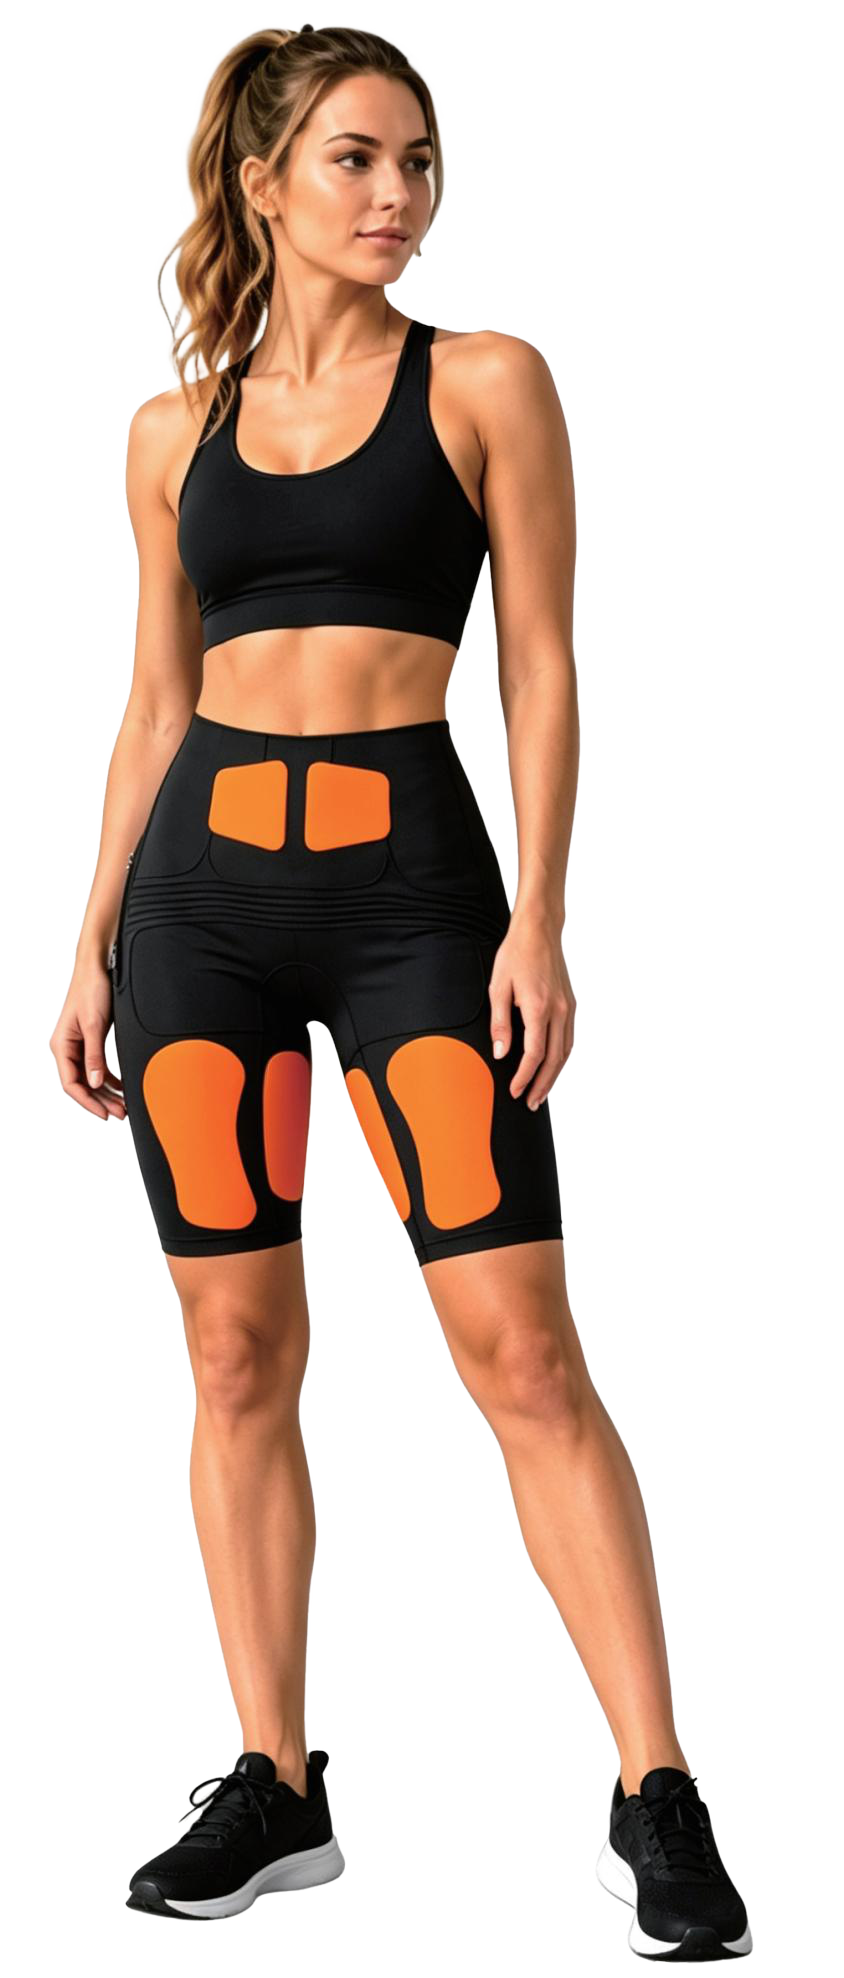
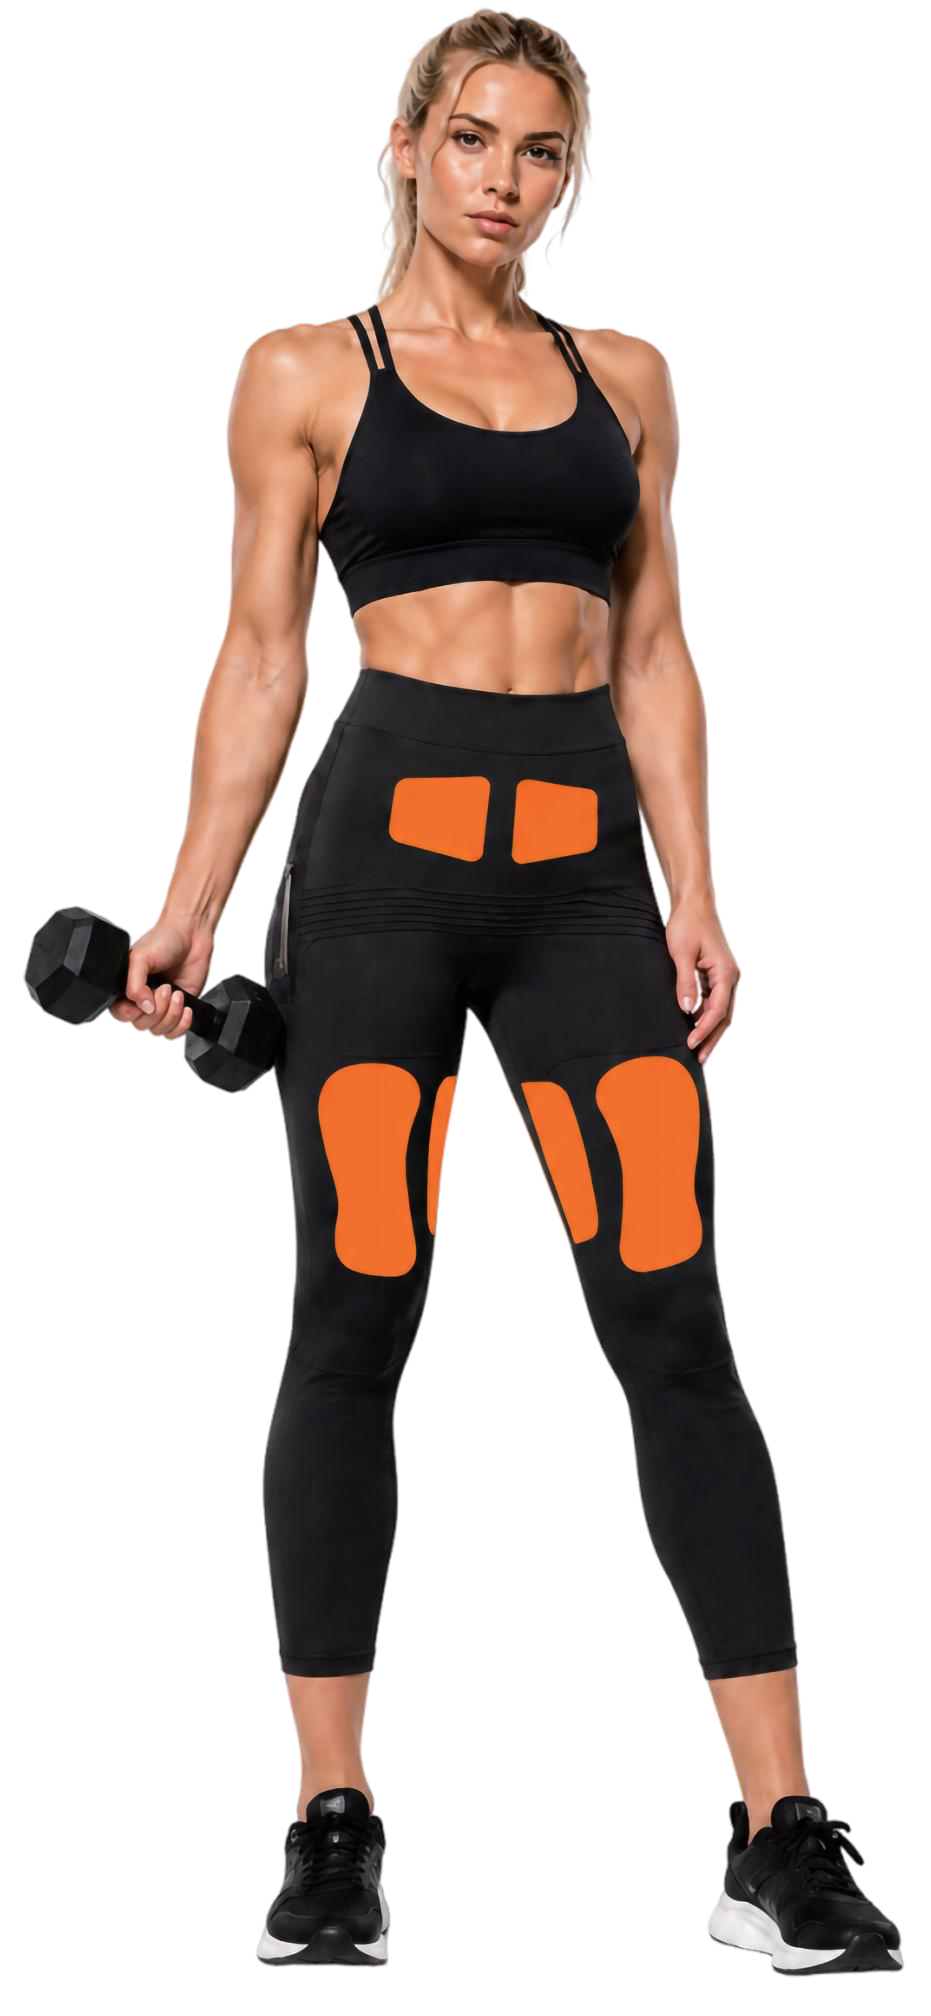
The controller has 16 independent outputs. The four 2011 garments below each have their own channel and electrode counts.
Explore the complete 2011 collection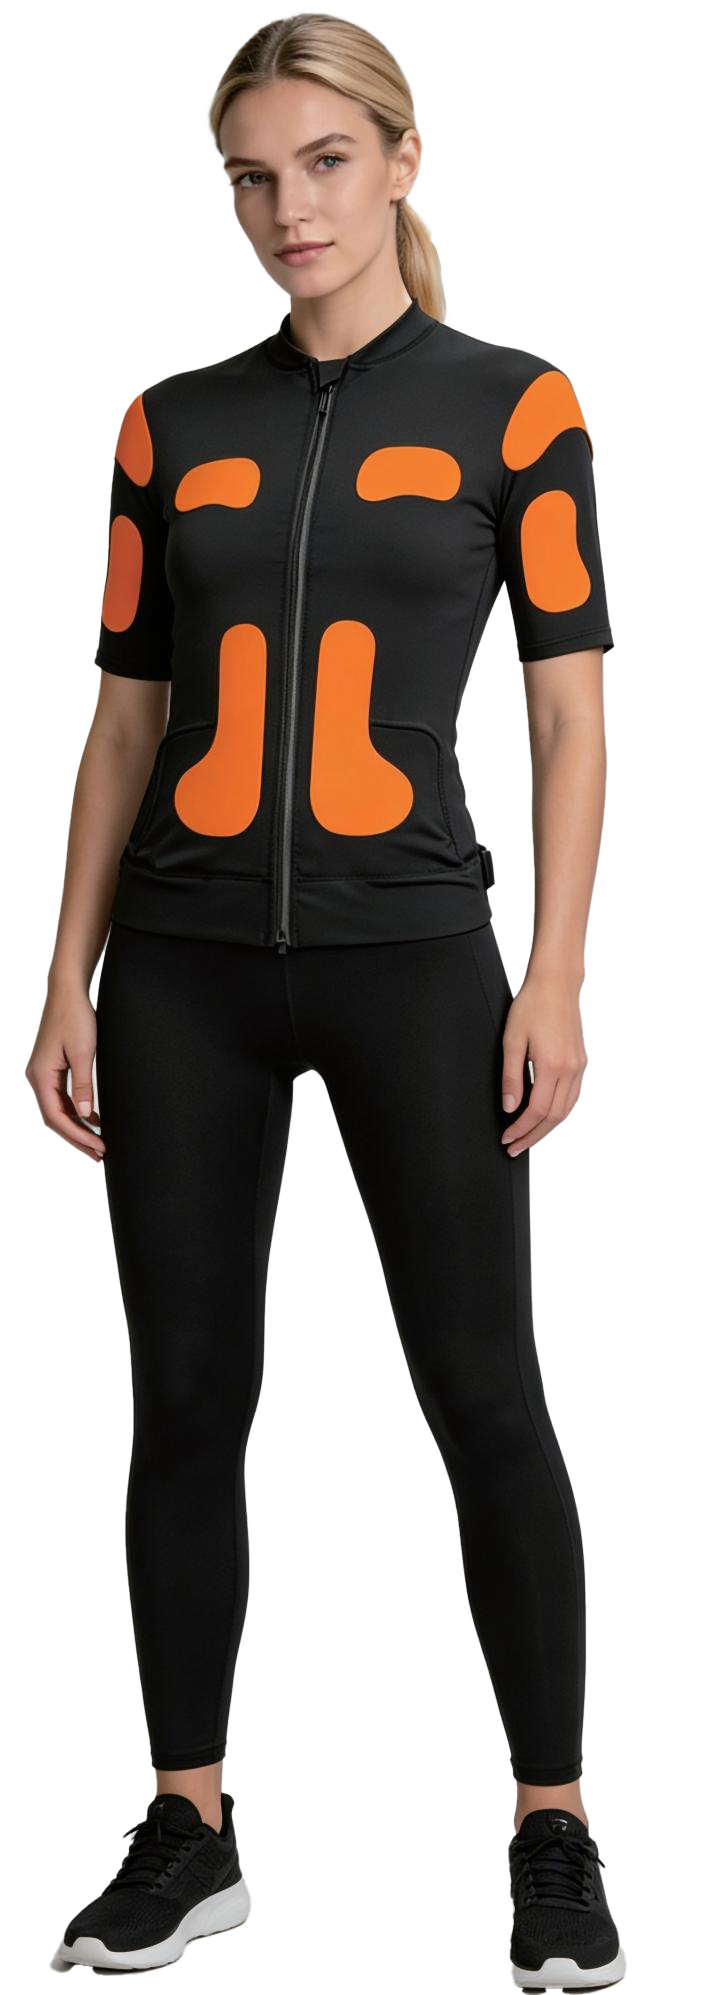
05 / Controller questions
Before your
hardware brief.
Connection, charging and the distinction between the controller and the garment.
How does the controller connect to the garment?
On the full body suit, the mounting base sits on the outer thigh. Slide the controller down into the vertical mount. It communicates with MBODY over Bluetooth.
Why are there 16 controller outputs and 10 garment channels?
These are separate specifications. The controller has 16 independent outputs. The full body garment has 20 electrodes across 10 garment channels. Each garment format has its own electrode and channel layout.
What frequency does the 2011 controller support?
The operating frequency range is 1 to 100 Hz.
How is the controller charged?
The 2011 controller uses a USB C charging connector and has a 3.7 V / 2000 mAh lithium battery.
Which garments are in the 2011 family?
The family includes a full body suit, training top, shorts and long pants. All four use the 2011 controller and MBODY app.
Can I use a different controller family?
No. The 2011, 902 and 2105C controller families are not interchangeable. Use the controller specified for the product.
What should I send for a quotation?
Send your company name, the garment or product you need, estimated quantity and customization requirements. Include your controller and app requirements in the same brief.
Build the controller into
your product brief.
Tell us the garment, estimated quantity and customization you need. Include the app experience you want to offer.